How To Make a 4.2 or 3.7 Volt Li-Ion Battery Charge Controller
Hey, Buddies!!! Today I Will Show You How to Make a Li-Ion Battery Charge Controller at Home with Step by Step Guide and Video Tutorial.You can charge any 4.2V battery safely using this charge controller box.This charge controller has some special features, like overcharge protection and maximum charging current is 1Amp, Click Here For more details about this TP4056 charging module.I am doing this project because I will create many projects in the future And this charging module will certainly need to charge the battery.so let’s start…
-:Component Need:-
1. 1 Pcs small plastic box (you can use old mobile charger case)
2. 1 Pcs TP4056 Charging Module
3. 1 Pcs Type-A USB Male Jack
4. 1 Pcs Type-AUSB Female Socket
5. USB Cable
6. 2 Pcs Strong Magnet
7. 1 Pcs Common Anode RGB Led
8. Some Wire And Hot Glue
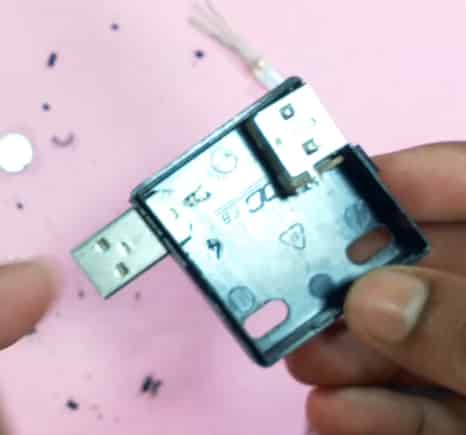
First of all the USB Male and Female sockets should be set in the Box
Then Desolder SMD Led From TP4056 Charging Module
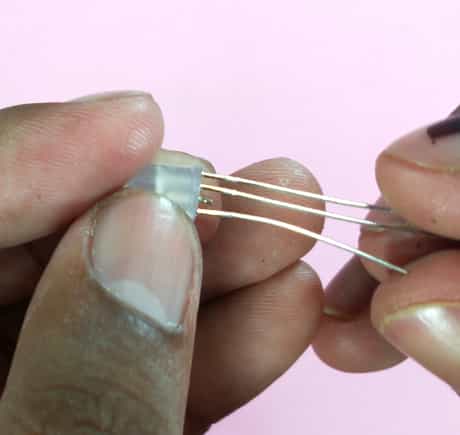
Then Cut Green Color LED Pin
Solder RGB Led
Finally Solder USB Male and Female Socket
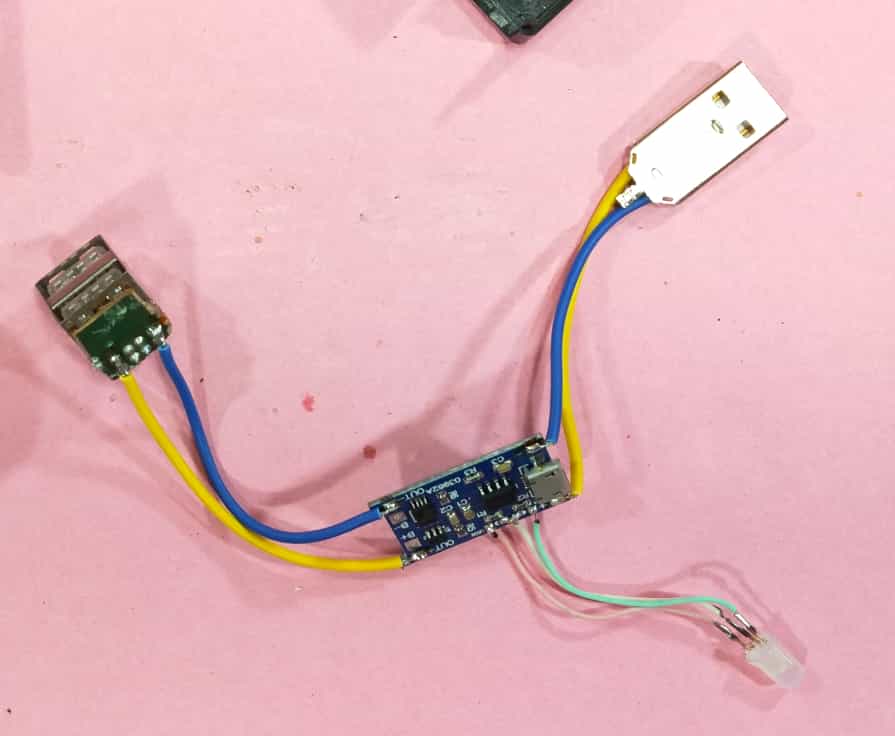
Now All Connections Are Complete, Finally Fix All the Components in the Box.
After Fixing All Components Make a Charging Cord Using USB Cable and Magnet
Done !
Watch My Video Tutorial for Better Understanding
Now All Connections Are Complete, Finally Fix All the Components in the Box.
After Fixing All Components Make a Charging Cord Using USB Cable and Magnet
Done !
If You Still Have Any Problem Then Contact Me Without Any Hesitation, that’s it for today